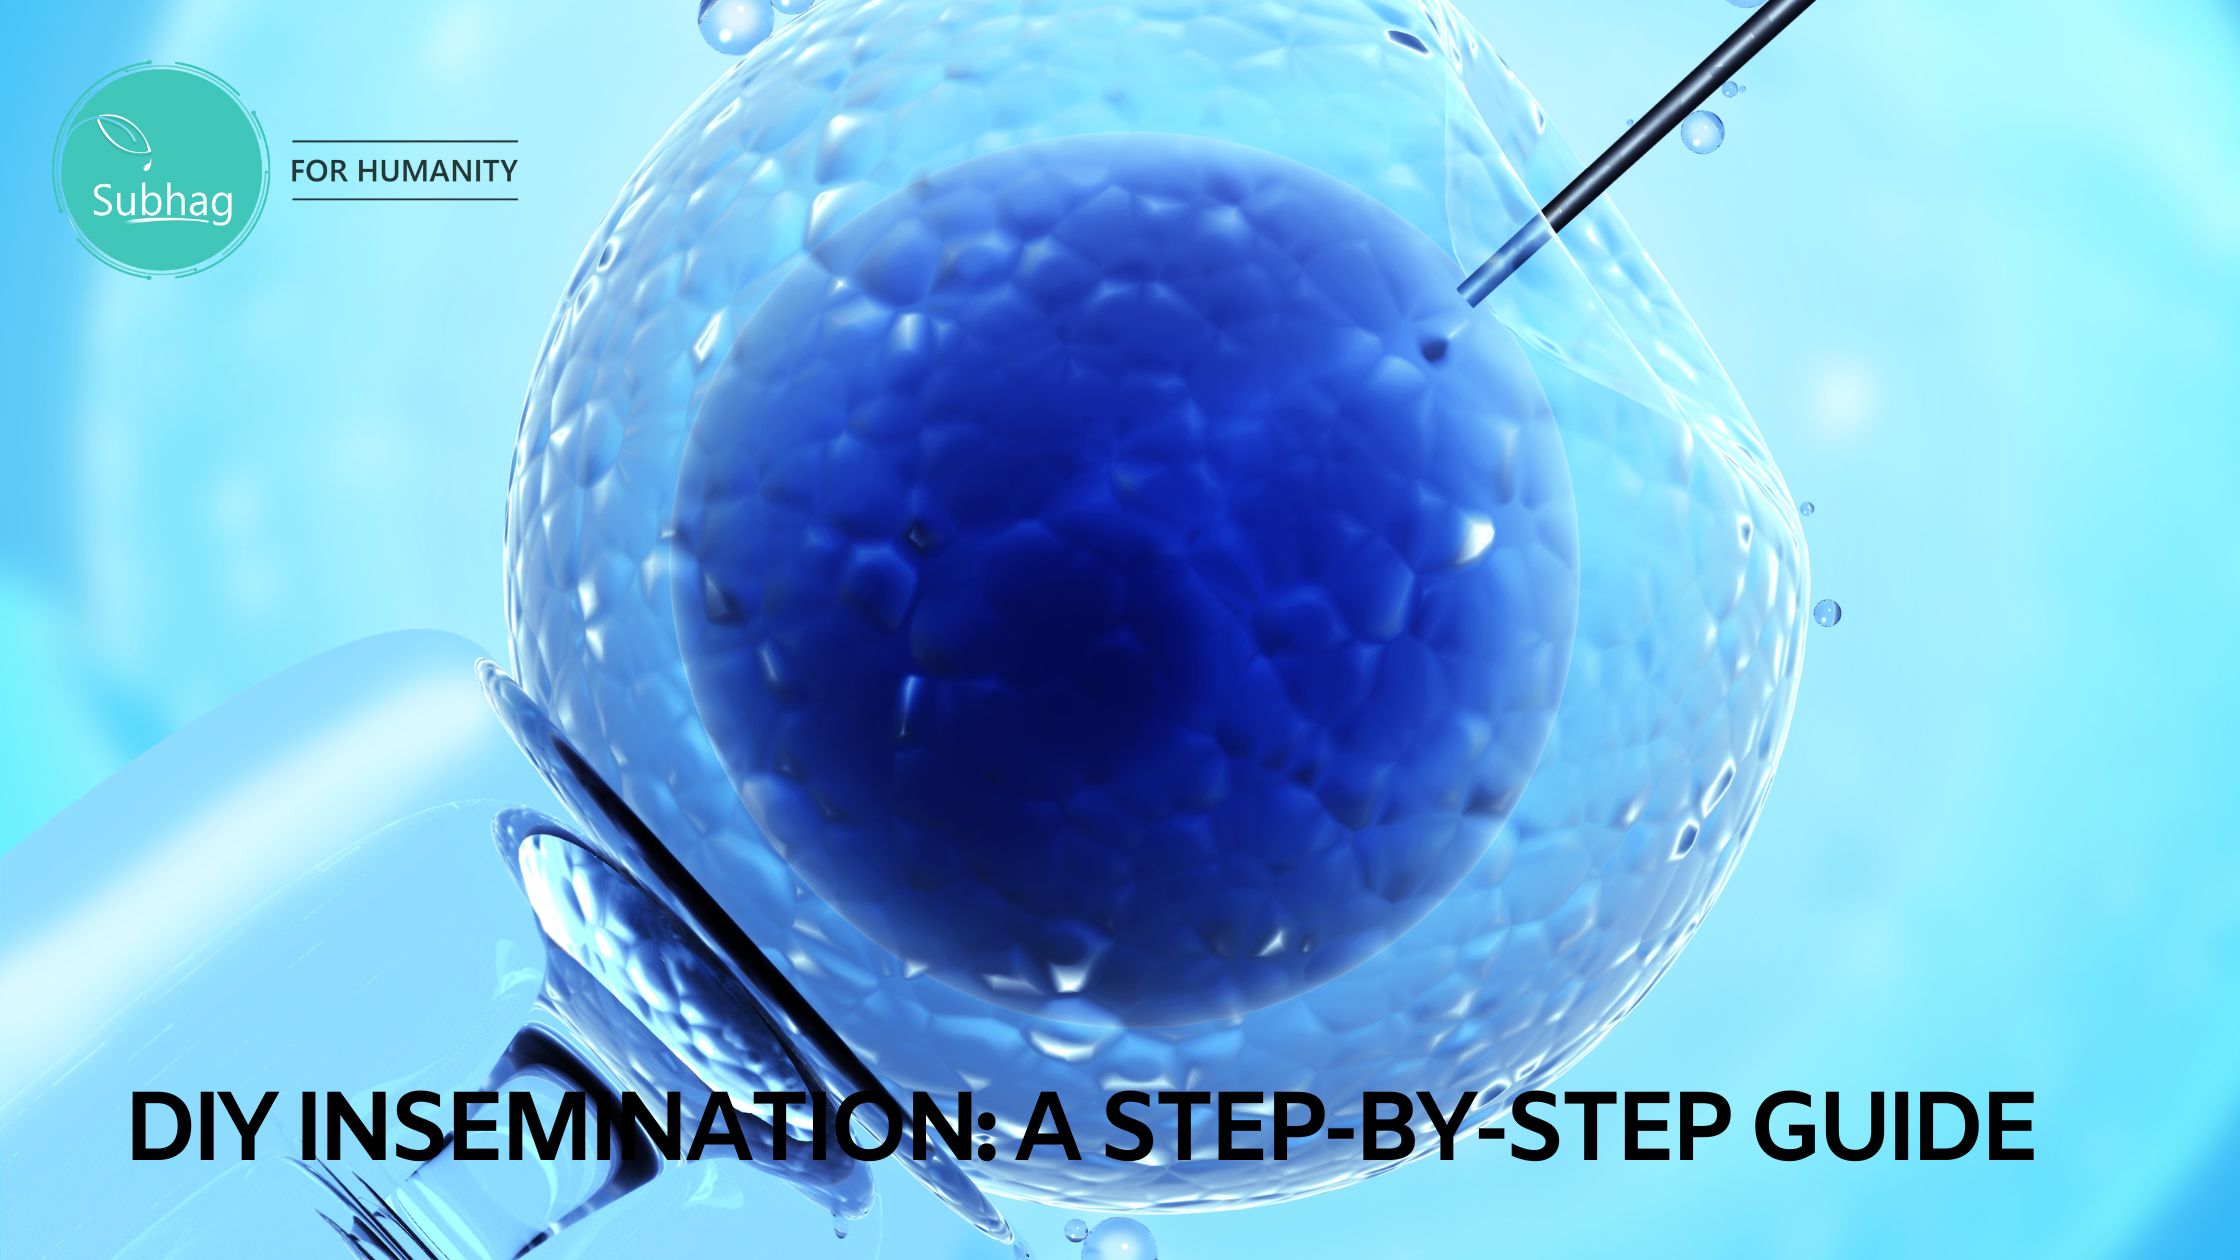
DIY Insemination can be an intimate and empowering process, allowing individuals or couples to take control of their fertility journey. However, it’s important to understand the risks and challenges involved in this method.
In this blog, we will guide you through the complete process of DIY insemination step-by-step, including tips on how to make the process more fertility-friendly.
Starting from understanding what it is and who can opt for it, to preparing for the process with a checklist of necessary supplies, ensuring high quality sperm, timing and logistics, insertion techniques and tips, aftercare, and what to expect post-insemination with ob, using a menstrual cup can be a sustainable and cost-effective option for managing menstrual flow. Remember to always follow the instructions provided by the manufacturer and consult with a healthcare professional if you have any concerns.
We will also cover the risks and challenges involved in DIY insemination, including the importance of using a condom, so that you can make an informed decision. Read on to find out if DIY insemination is the right path for you.
Understanding DIY Insemination
Understanding DIY Insemination:
DIY insemination, also known as at-home insemination, is a method chosen by some couples who are trying to conceive.
It involves performing the insemination process in the comfort of one’s own home, without the assistance of a medical professional or fertility clinic. Reproduction can be a sensitive and personal topic, and at-home insemination provides a private and intimate option for those seeking to start or expand their family.
Before starting the process, it is important to prepare by selecting a sperm donor and tracking ovulation. This ensures that the insemination is done during the woman’s fertile window, maximizing the chances of conception through intercourse. It is also important to consider the potential risks of sexually transmitted infections, such as HIV, and to take necessary precautions to protect both partners.
Performing DIY insemination at home requires following step-by-step instructions. It typically involves using a syringe or a needleless syringe to place the sperm into the vagina, near the cervix or inside the cervix using intracervical insemination.
It is crucial to handle the sperm with care and ensure that the equipment used is clean and sterile to avoid any potential risks or infections. Additionally, it is important to note that the presence of mucus in the cervix can affect the quality of the sperm and decrease the chances of fertilization. For those who want to prevent pregnancy, using birth control is an effective option to consider.
For those interested in DIY insemination or surrogacy, there are resources and support available for LGBTQ individuals and couples.
Online communities, forums, and websites provide information and guidance on the process of male ejaculate for DIY insemination. It is essential to approach DIY insemination with caution and be aware of the potential risks and considerations involved, including the proper use of the tip of the syringe.
Consulting with a medical professional or nurse practitioner or midwife can provide further guidance and support throughout the journey. It can also help with the necessary paperwork and documentation required for a smooth and stress-free experience.
What is DIY Insemination?
DIY insemination is the process of attempting to conceive using at-home methods. It involves collecting fresh sperm from a donor and inserting it into the cervix using a vial, syringe, or similar device.
Risks include infection and improper technique, so it is important to include a disclaimer and consult with a healthcare provider before attempting DIY insemination for infertility. It is also important to note that DIY insemination should not be attempted if there are any issues with the uterus or reproductive system.
Who Can Opt for DIY Insemination?
DIY insemination is a viable option for single individuals, same-sex couples, or heterosexual couples facing fertility issues. Artificial insemination, including intrauterine insemination, can be done at home with the use of a donor sperm kit or with the help of a known donor.
Consulting with a healthcare provider beforehand is important to ensure safety and effectiveness.
It’s essential to have realistic expectations and consider alternative options if DIY insemination doesn’t work.
Preparing for the Process: The Checklist
Before beginning the DIY insemination process, it’s important to make sure you’re fully prepared.
Consult with a healthcare provider to discuss any potential risks and ensure that you’re properly prepared for this journey. They can provide guidance and address any concerns you may have.
Next, you’ll need to choose a donor. This can be a known donor or you can obtain sperm from a sperm bank. Make sure to do your research and consider the options available to you.
Gathering the necessary supplies is crucial. You’ll need a sterile syringe, sperm, and ovulation predictor kits. These items will play a vital role in the insemination process, so it’s important to have them on hand.
Understanding the ovulation process and timing for insemination is essential for success. Familiarize yourself with your menstrual cycle and the signs of ovulation to determine the best time for insemination.
Lastly, practicing proper hygiene during the insemination process is crucial to reduce the risk of infection. Be sure to follow hygiene practices recommended by medical professionals to keep the process safe and effective.
By following this checklist, you’ll be well-prepared and ready to embark on your DIY insemination journey. Remember, consulting with a healthcare provider is key to ensuring a smooth and safe process.
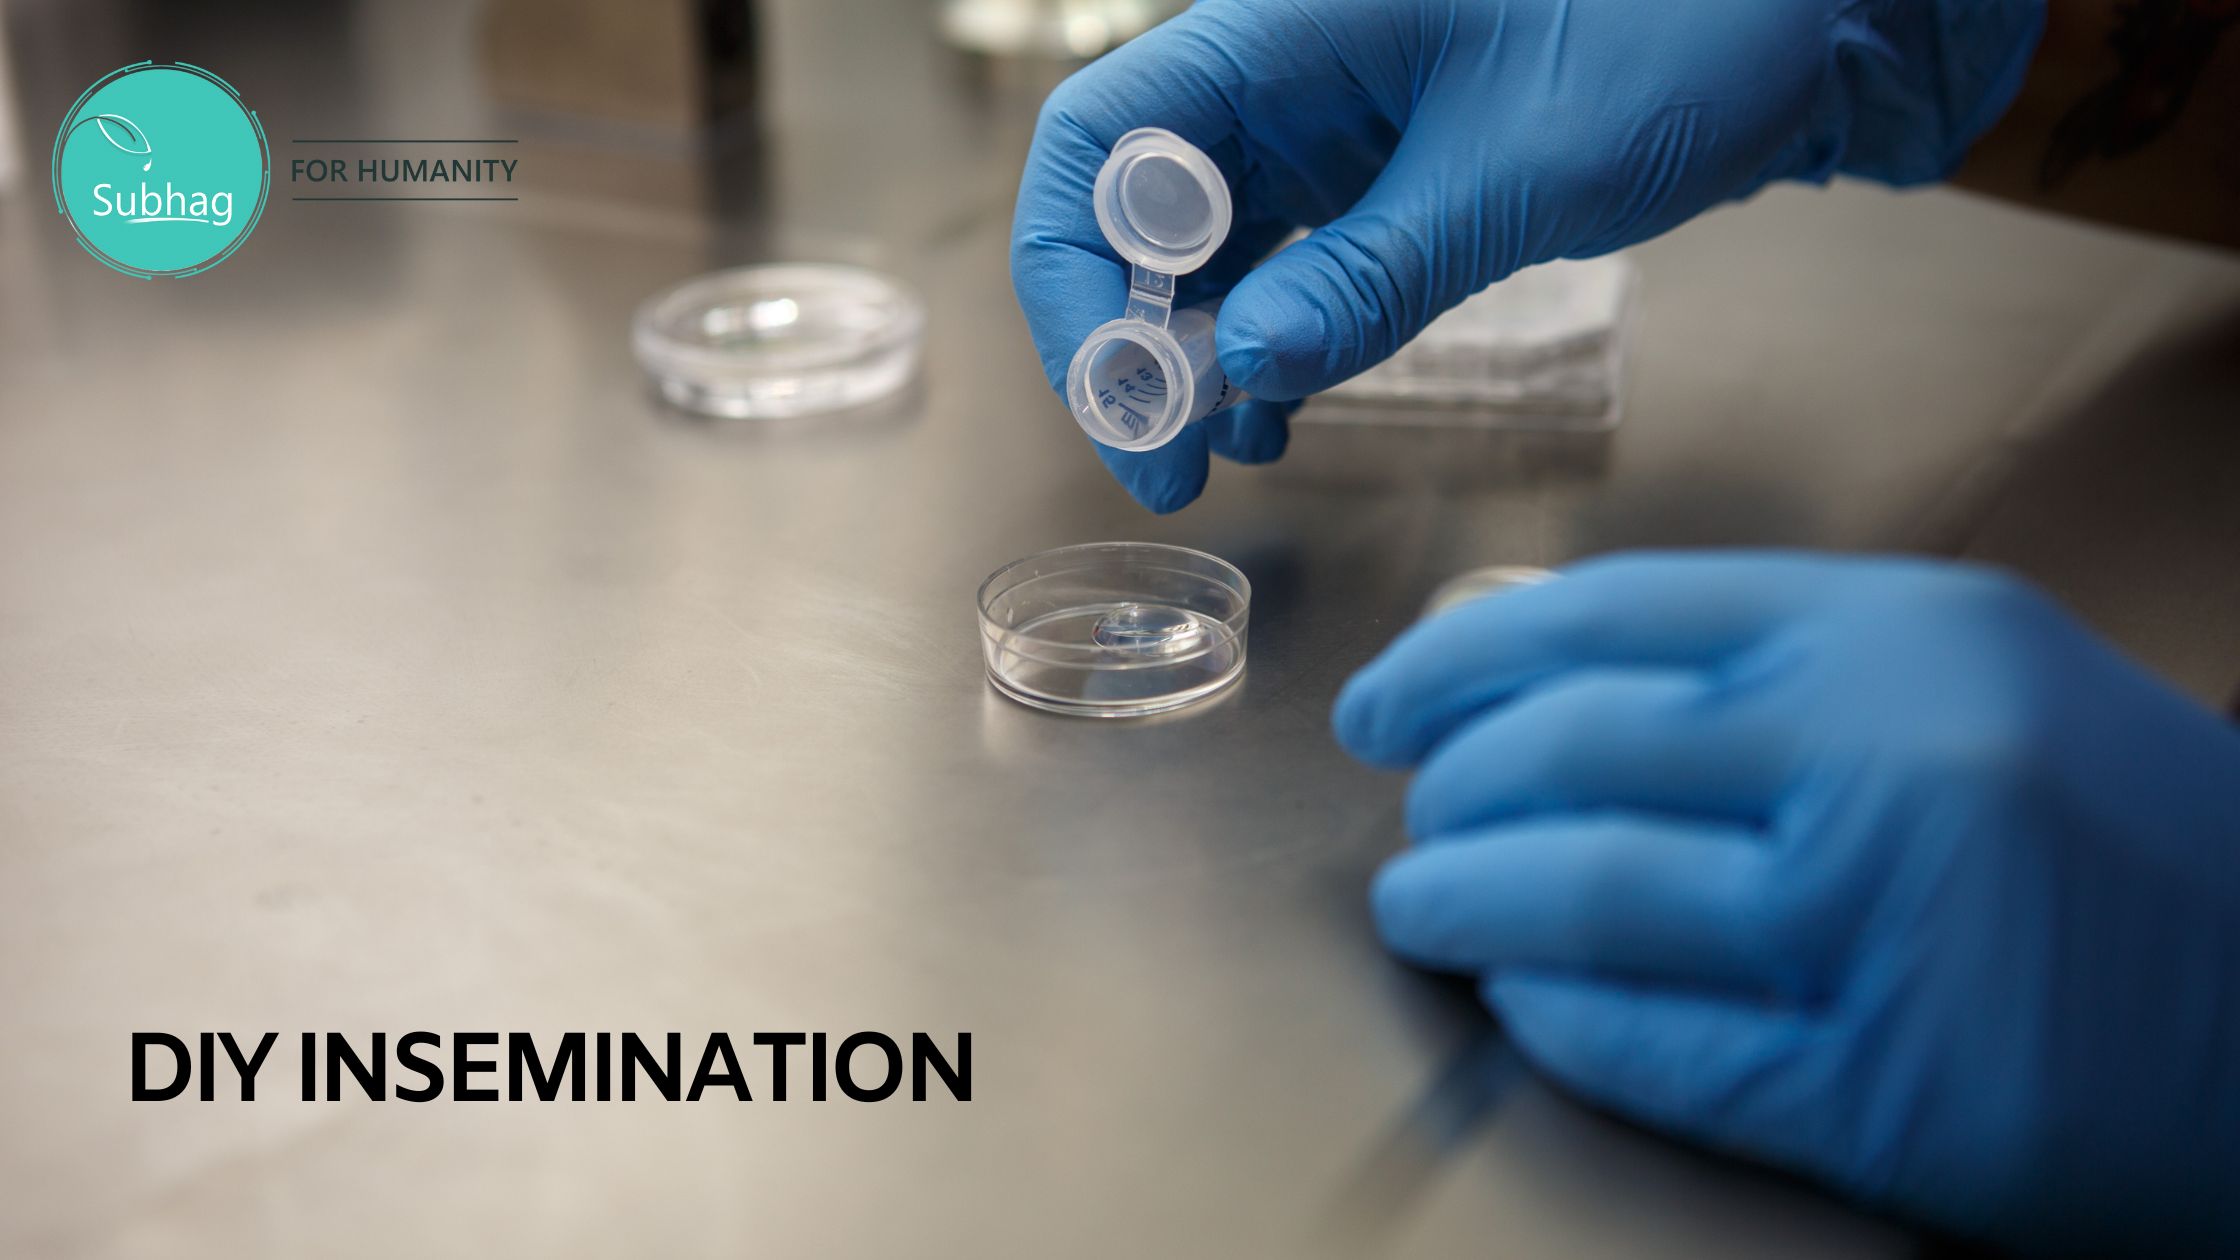
Necessary Supplies for DIY Insemination
- When preparing for DIY insemination, it is essential to have the necessary supplies on hand.
- These supplies include a sterile cup, sperm, syringe, and lubricant. Choosing a high-quality lubricant that is sperm-friendly is crucial for the process.
- It is important to ensure that the sperm used for insemination is fresh, healthy, and obtained from a reliable source such as a sperm bank or a known donor. Sterilizing all equipment before use is necessary to prevent any risk of infection or contamination.
- Following a step-by-step guide carefully and being patient during the process can greatly increase the chances of success. By having the necessary supplies in place, you can confidently embark on your DIY insemination journey.
Ensuring High Quality Sperm
When it comes to DIY insemination, ensuring high-quality sperm is crucial for a successful outcome. Selecting a reliable sperm donor with optimal sperm quality is of utmost importance.
Additionally, it’s essential to ensure that the sperm sample is fresh and stored correctly to maintain its quality. Using a sperm analysis kit can help assess the sperm quality and confirm that it meets the required standards.
It is also important to follow the recommended guidelines for handling and storing the sperm to prevent any compromise in its quality. By prioritizing the quality of the sperm used in DIY insemination, you can maximize your chances of achieving the desired results.
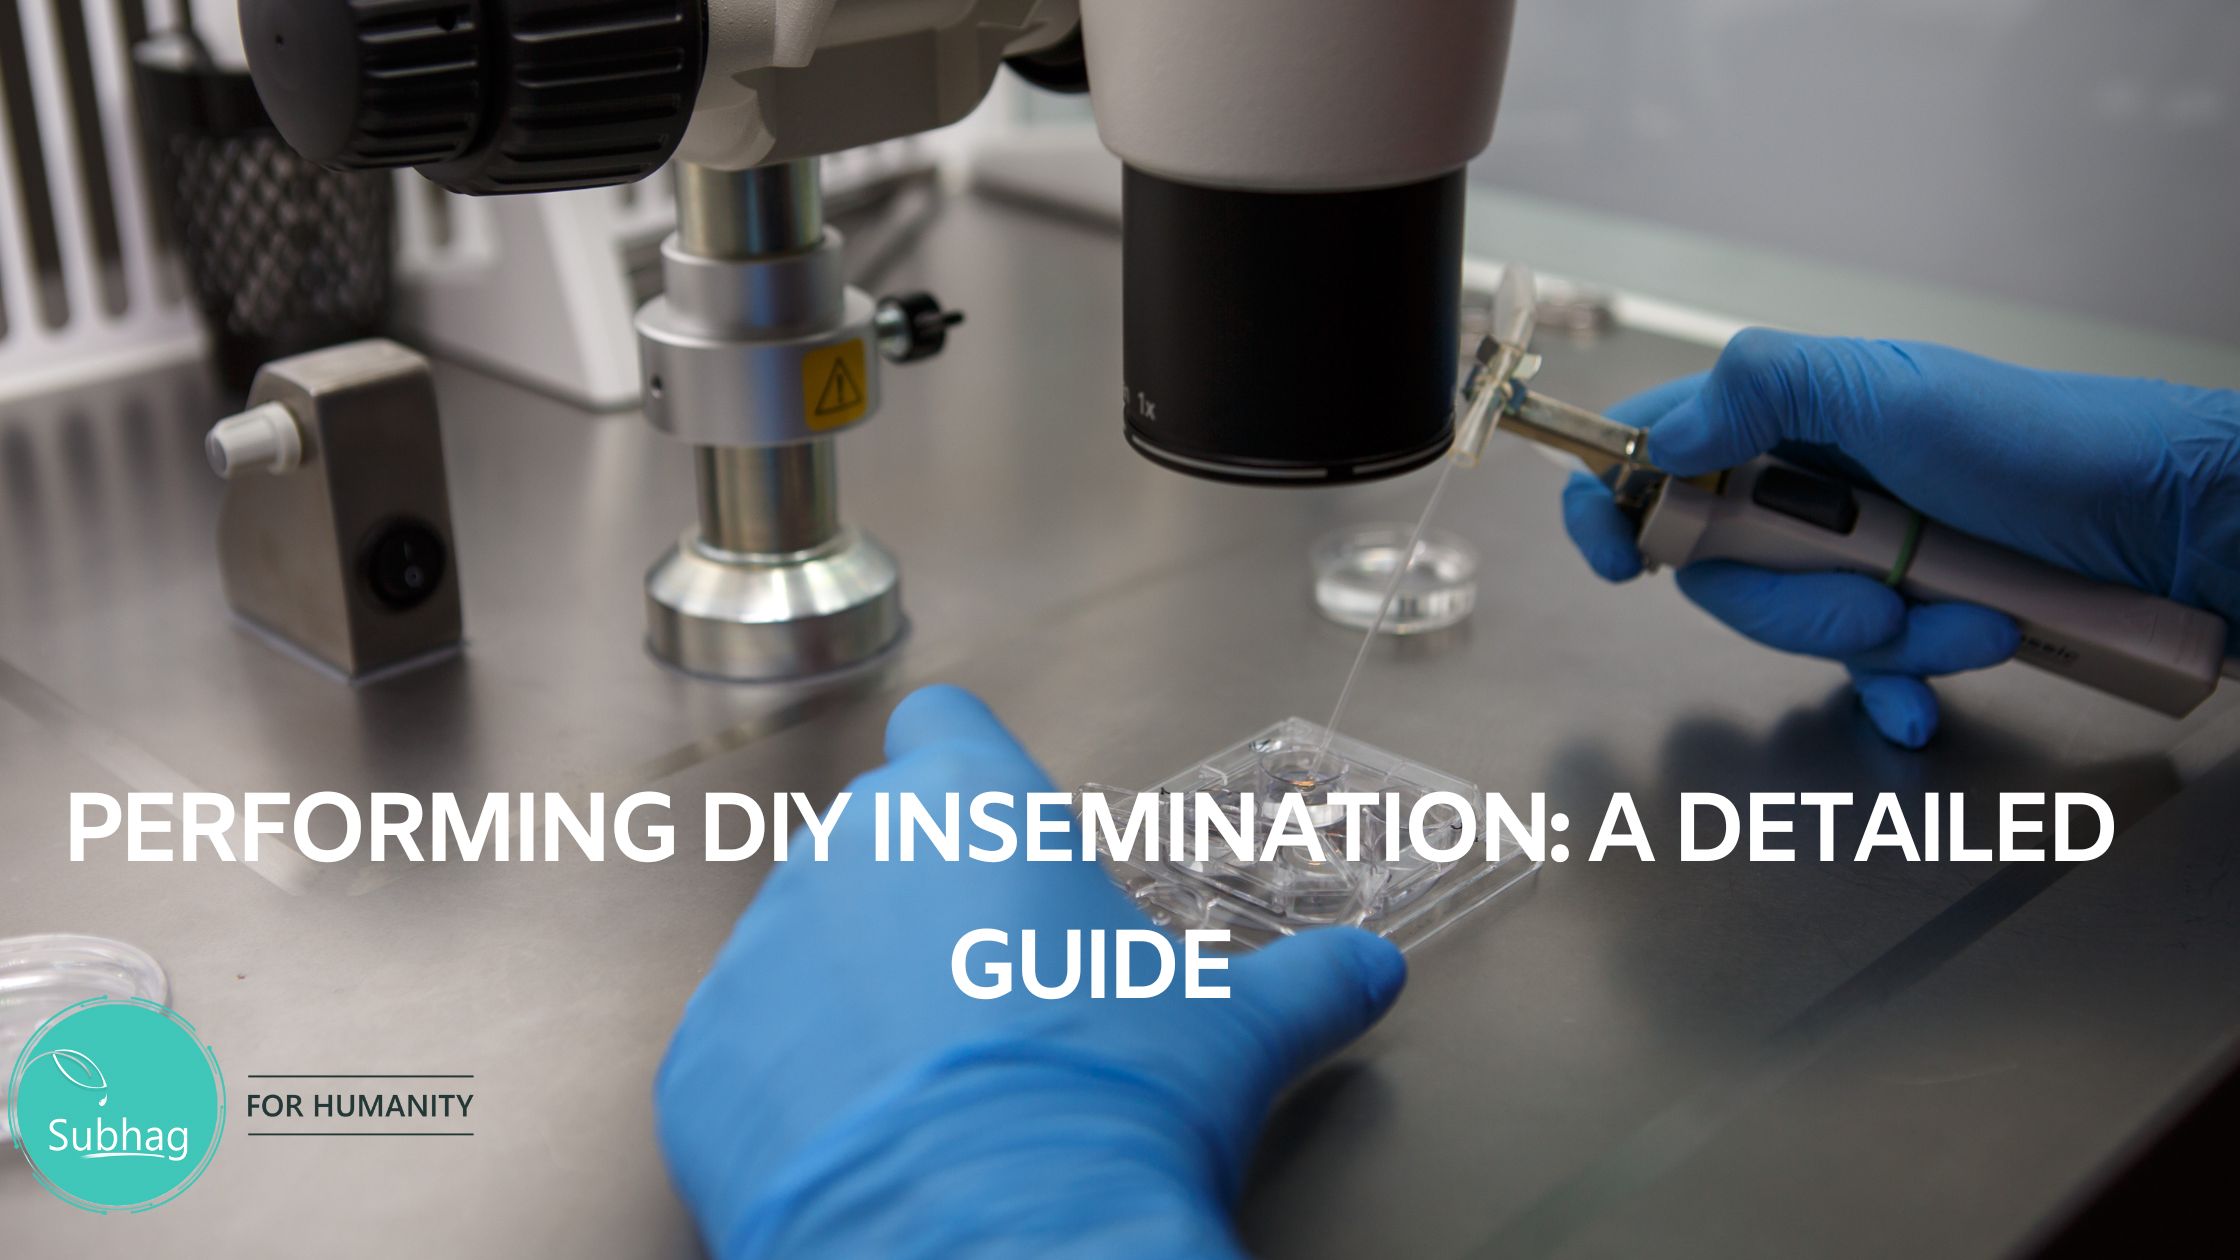
Performing DIY Insemination: A Detailed Guide
Performing DIY insemination involves understanding the risks and limitations of this method. It’s crucial to consult a healthcare provider before attempting it.
To begin, gather all the necessary supplies, including a syringe, sterile container, and sperm from a reliable source such as a sperm bank or a known donor.
Proper preparation is essential, so ensure you wash your hands, sterilize the equipment, and create a comfortable environment.
Follow the step-by-step process of inserting the syringe into the vagina and depositing the sperm near the cervix.
Monitor your body for signs of ovulation and potential pregnancy, and seek medical attention as needed. Remember, always consider the guidance of a medical professional throughout the at-home insemination process.
Timing and Logistics
Timing plays a crucial role in DIY insemination, greatly impacting the chances of success. To ensure optimal timing, tracking ovulation is key.
You can utilize tools like basal body temperature tracking or ovulation predictor kits to accurately identify your fertile window.
Once the timing is right, it’s essential to prepare the necessary supplies and create a comfortable and sterile environment.
The actual insemination process involves inserting semen into the vagina using a syringe or cervical cap. After the insemination, it is recommended to lie down for 10-15 minutes to enhance the chances of conception.
By carefully considering the timing and setting up the logistics properly, you can maximize your chances of achieving your desired outcome.
Insertion Techniques and Tips
Using sterile equipment and proper technique is essential for successful DIY insemination. When it comes to insertion techniques, there are a few options to consider.
You can use a syringe, catheter, or cervical cap for the process. Timing is also crucial in maximizing your chances of success. Pay attention to your ovulation cycle and plan the insertion accordingly.
It’s important to insert the chosen method slowly and at the correct angle to avoid any discomfort or injury. After completing the insemination, proper aftercare is highly recommended. It’s crucial to follow up with a healthcare provider to ensure everything went smoothly.
Aftercare and What to Expect Post-Insemination
Rest and relaxation play a vital role in promoting successful fertilization after DIY insemination.
It is advisable to avoid strenuous exercise or sexual activity for at least 24 hours following the procedure. Mild cramping or spotting post-insemination is normal, so there’s no need to worry.
To increase your chances of conception, it’s crucial to continue tracking ovulation and adhere to any prescribed fertility medications.

Additionally, follow-up appointments with a healthcare provider may be necessary to monitor the success of the insemination. Remember to prioritize self-care during this time to optimize your fertility journey.
The Risks and Challenges of DIY Insemination
While DIY insemination can offer a more affordable and convenient option for individuals or couples trying to conceive, it is essential to be aware of the potential risks and challenges involved.
It is crucial to consult with a healthcare provider before attempting DIY insemination, as it carries potential health risks.
Additionally, the success rates for DIY insemination are generally lower than those for medical fertility treatments. Obtaining quality sperm and properly preparing it for insemination can also be challenging.
The legal and ethical implications of DIY insemination, especially when using donor sperm, should be carefully considered. Furthermore, DIY insemination may not be covered by insurance and can be costly in terms of time, effort, and resources.
Is DIY Insemination the Right Path for You?
Considering the personal decision of DIY insemination requires careful consideration.
While it can save money, it may come with increased risks. Thorough research, preparation, and consultation with a healthcare professional are crucial steps before pursuing DIY insemination.
Conclusion
In conclusion, DIY insemination can be a viable option for individuals or couples who are looking to conceive.
It is important to understand the process, gather all the necessary supplies, and ensure the quality of the sperm. Following a step-by-step guide and taking care of timing and logistics will increase the chances of success.
However, it is also crucial to be aware of the risks and challenges associated with DIY insemination and consider whether it is the right path for you.
Consulting with a healthcare professional or fertility specialist can provide valuable guidance and support throughout the process. Remember, each individual’s journey is unique, so make sure to prioritize your physical and emotional well-being throughout this experience.